Command An Army Formations & Counters — Attack vs Defense Playbook
How formations actually work in Command An Army: the default shield-spear-archer triangle, why the circle formation stops cavalry, braced spears vs horses, shield-wall defense, and when to rush.
Formations in Command An Army are mid-battle commands, not cosmetics — and most lost points trace back to one of three mistakes: charging cavalry into braced spears, attacking a shield wall head-on, or letting archers stand unguarded. This page collects the formation and counter-play tactics visible in recorded matches of the current version. Seen in footage · 2026-09-15
The Formations You Can Order
Four formations are orderable in battle from the command wheel: Seen in footage · 2026-09-15
- Line — the standard advance; spreads units so area damage spreads too.
- Triangle — a forward-pointing assault shape; pairs with rush orders when you want a fast breach.

- Wall — units lock shoulder to shoulder; the defensive default on a capture point.
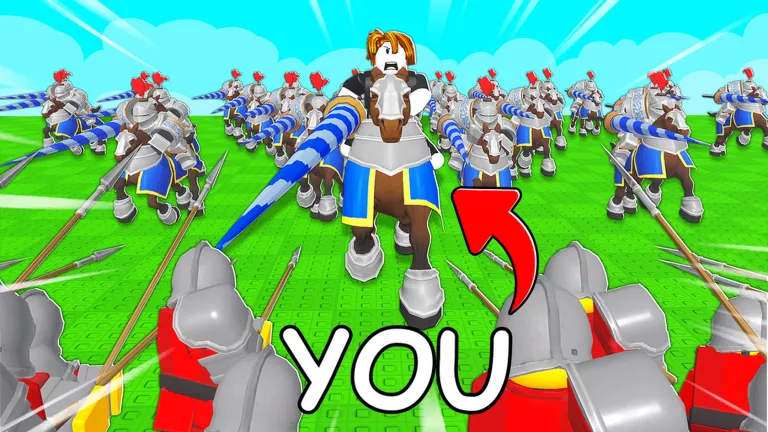
- Circle — the anti-cavalry pocket. Do not charge a circle formation with horses — the cavalry creator guide is explicit about this. Form one when enemy horses are hunting your ranged units. Seen in footage · 2026-09-15
The Default Battle Order
Shields in front, spears second, archers in the back. Melee contact happens on the shields, spears screen cavalry behind them, and archers deal free damage over the top. Every beginner guide and every recorded match starts here — it is the formation you will reuse for the whole game. Seen in footage · 2026-09-15
Two refinements from high-level play: put your Spartans inside a shield wall on defense (rushing players bounce off the wall straight into Spartan spears), and keep at least one counter-charge unit behind the line so enemy cavalry cannot circle into your archers for free. Seen in footage · 2026-09-15
The Counter Playbook
| They field | You answer with | Why it works |
|---|---|---|
| Cavalry swarm | Braced Spearmen / Imperial Guard wall | A charge into braced spears dies on contact — Imperial Guard is the best anti-cavalry unit |
| Shield wall / Spartans | Shield breakers: Mace, Javeliner, Samurai block damage | Block damage melts shields — this toolkit belongs to attackers |
| Archer stack | Cavalry in their backline | Archers shred anything standing still, but die the moment horses reach them |
| Berserkers / shock infantry | Archers + a shield screen | Shock troops hit hard and die fast — ranged fire removes them before contact |
| Circle formation | Do not charge it — go around or siege | The circle exists specifically to eat cavalry charges |
Rushing: When It Works and When It Throws
Mounted rush deals on-hit damage and has a cooldown — the NEW UNITS update rebalanced how often you can chain it. The rules of thumb from recorded play: Seen in footage · 2026-09-15
- Rush archers, isolated units and stragglers — a rush into an unsupported backline wins fights before they start.
- Never rush a standing infantry line head-on — the worst trade in the game.
- On horseback, the assassinate command targets the enemy player directly — killing the general is worth more than killing five troops, and it forces them to respawn while their army stands dumb. Seen in footage · 2026-09-15
- Charge enemy cavalry before they charge you — first contact decides horse fights. Seen in footage · 2026-09-15
Burn damage stacking from Flaming Archer fire — animated from gameplay footage by ItzVexo, September 2026.
Attacking vs Defending: Map Reality
- Defense is structurally easier. The defender covers two real entry routes; the third approach is a long flank that eats attacker time. Most defenders lose to impatience, not to the attacker — see the units database for what each class does's plan. Seen in footage · 2026-09-15
- Open maps favor attackers. Community consensus puts Plain Fields as attacker-friendly — a failed assault can disengage and regroup, while the defender is pinned to the point. Community report · 2026-09-15
- Fortress-style maps punish sloppy assaults — walls and choke points funnel attackers straight into prepared walls. Bring shield breakers or siege from range instead of feeding troops through the door. Community report · 2026-09-15
Team Composition Still Decides
Formations lose to composition gaps: if your team fields four archers, no formation saves the point from two cavalry players. Experienced players leave slots empty on purpose so they can answer whatever the enemy team is fielding — mirror what your team already has and you have already lost the counter game. Unit-by-unit strengths are on the units database, current rankings on the tier list. Seen in footage · 2026-09-15